Workshop Project: Make The Wall Hanging with Optional Star Border
THANK YOU for signing up to make the Poppy Quilt! This virtual, on demand workshop will walk through all the individual steps to making the Poppy Quilt, and you'll see my hands perform each step for making the Wall Hanging version of this quilt. The workshop captions and videos supplement the pattern (sold separately here). For easy reference between the written pattern and the on demand workshop, there are some captions that take the exact wording from the pattern. This helps create a connection between the two sources of information. The videos you see here are unique to the on demand workshop. They're not available outside a workshop setting.
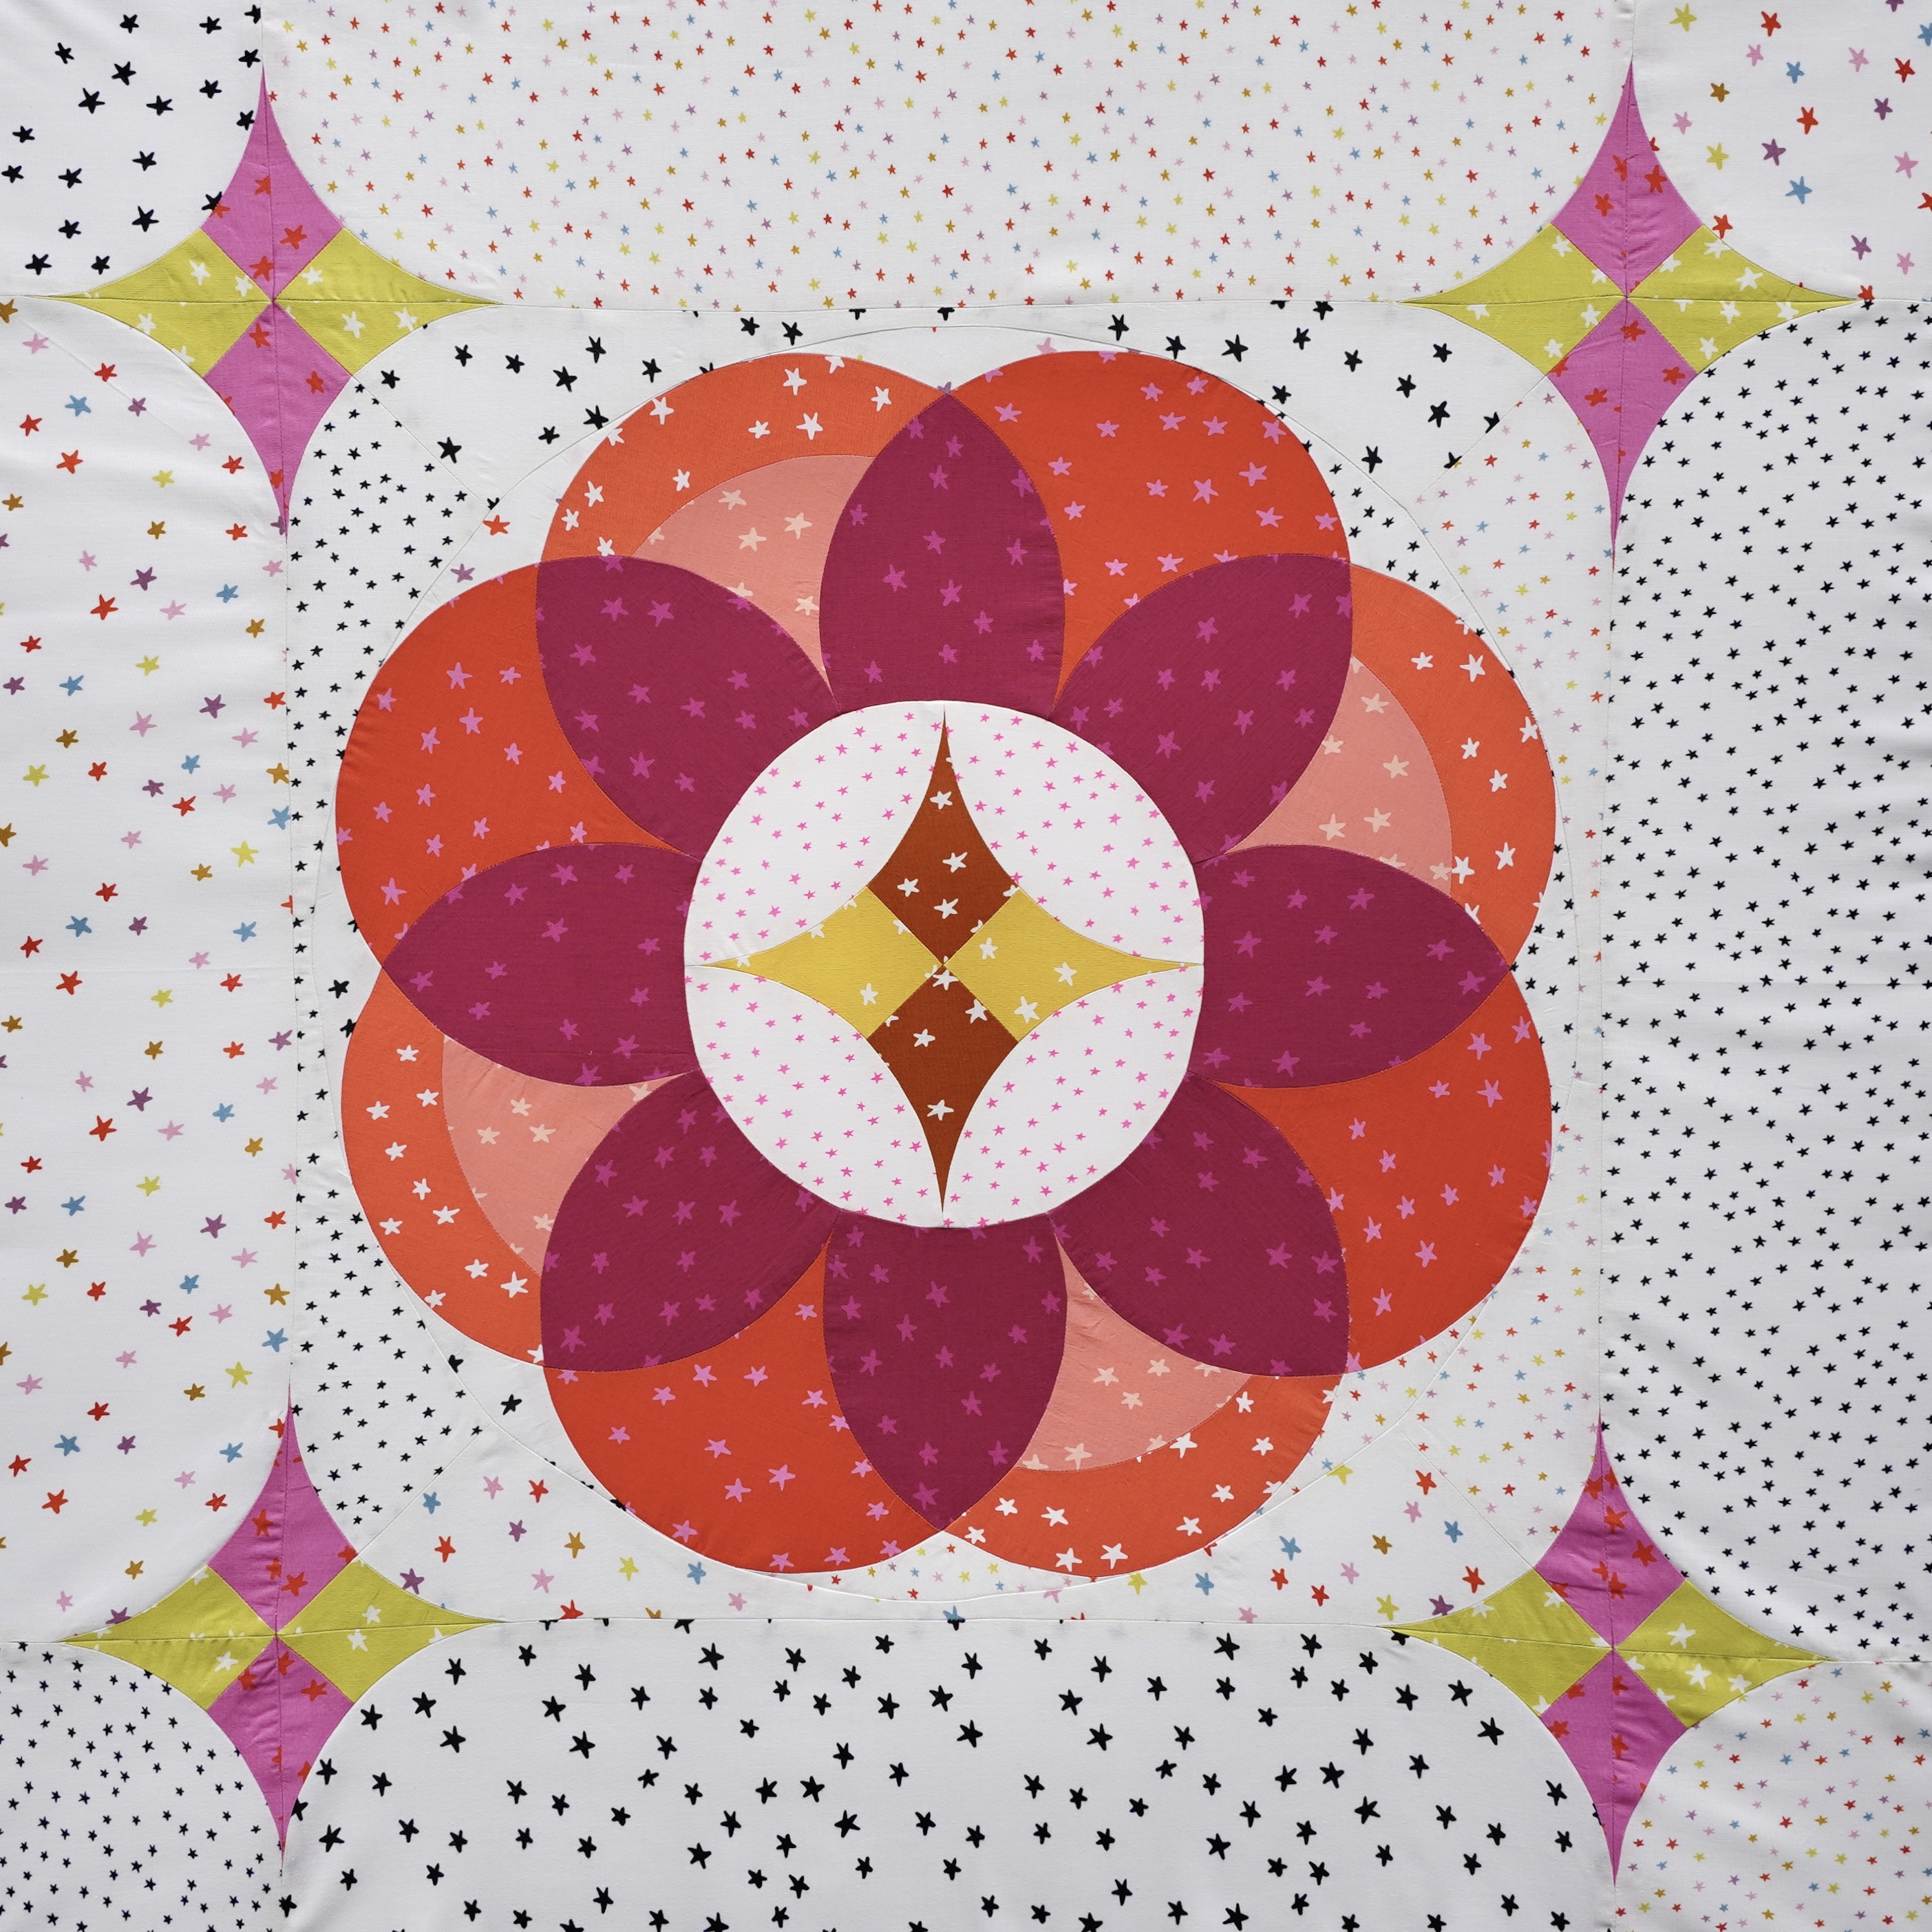
The scope of the workshop is to make the Wall Hanging version of this quilt. For the class sample, I will also demonstrate how to add the optional star border to the quilt block, which takes the wall hanging from a 24x24 inch size up to a 30x30 inch size. With this knowledge, a quilt of any size could be made from this pattern.
The Poppy Quilt pattern comes with print at home paper templates that can be used to cut the fabric pieces. There is also an acrylic template set available for purchase here. The templates are very useful for cutting repetitive shapes, and I strongly recommend them for making the throw size quilt. There is a lesson in the workshop that shows me cutting Template C from both the acrylic and paper template as an example. This pattern is rated as advanced and assumes knowledge of curved piecing. The written pattern instructions show the order of assembly, but they do not show the nitty gritty details. With the addition of this class, you can mimic my exact motions in the video, leading to more comprehensive instruction than what could be written in the pattern. All videos are filmed and presented in real time - there is no time lapse or sped up video.
If you are new to curved piecing, or want to warm up with curved piecing that is not a traditional quarter circle block, check out the Circle Study Quilt or the Watercolor Quilt.
Before you begin... here are a couple baseline instructions:
It can be helpful to read through the entire pattern or watch all the videos before starting assembly. This will give visibility to the entire assembly process.
All seam allowances are true (not scant) 1/4 inch. Backstitch at the start and end of each seam. Sew with a 2.0 stitch length. Most seams in this block will be pressed open.
There is an arrow on each template indicating the grain line. Align the arrow either parallel or perpendicular to the selvedge. The curves will fall on the bias grain, making them easier to sew.
Never cut toward yourself using a rotary cutter. I recommend wearing a cut resistant glove on the hand not holding the cutter. A rotating cutting mat is especially useful for this pattern.
Paper printed templates show a dashed line for the seam allowance and a solid line for the finished size.
I'm excited to get started! Let's dive in!